Test the gamepad outside Ryujinx
Connect one controller by a stable USB cable or a known-good Bluetooth pairing. Confirm that the operating system sees button presses and both sticks before opening the emulator.
Gamepad setup guide
Follow a clean Ryujinx controller setup from the physical gamepad to a saved Player 1 profile. This guide covers Windows, Linux, Steam Deck, and macOS, with separate checks for Steam Input, controller type, analog axes, and per-game overrides.
$ channel: canary
$ platforms: windows linux macos
$ source: ryubing releases
$ status: verify before download
Independent guide. No keys, firmware, ROMs, DLC or game files are hosted here.
Connect one controller by a stable USB cable or a known-good Bluetooth pairing. Confirm that the operating system sees button presses and both sticks before opening the emulator.
Open Ryujinx input or controller settings, select Player 1, and choose the device name that matches the pad you are holding. Leave other player slots alone for the first test.
Select the layout that matches the gamepad and map face buttons, sticks, triggers, and shoulders. Use a fresh profile when an old device mapping is confusing.
Save the mapping, close the settings window, and reopen it to confirm the assignments persisted. A mapping that only works until the dialog closes is not finished.
Launch one title and test a repeatable menu or short scene. Add Player 2, motion controls, or per-game profiles only after the default profile works.
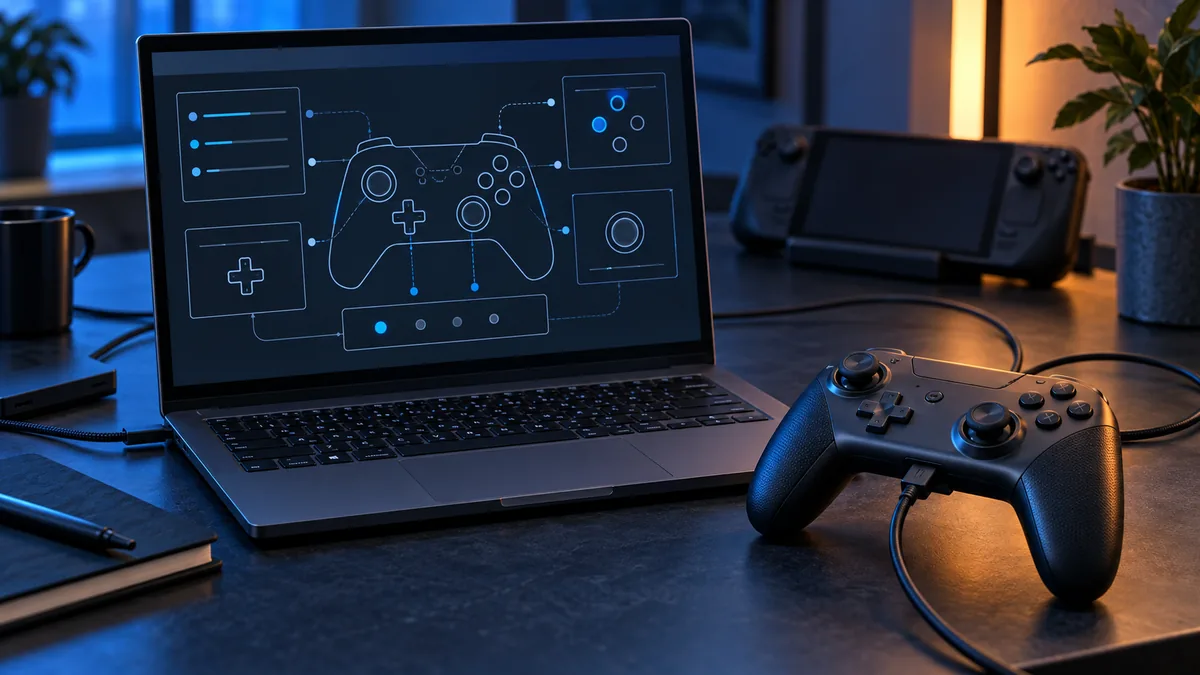
Editorial illustration, not a live emulator screenshot. The reliable path is physical device, operating system, Ryujinx Player 1 profile, saved mapping, and one repeatable game test.
A Ryujinx controller setup is a chain of input layers rather than a universal button list. The physical gamepad sends an event to Windows, Linux, macOS, or SteamOS. Ryujinx then exposes one or more device names inside its input profile. Player 1 selects one of those devices, applies a controller layout, and stores the button and axis assignments. Finally, the game interprets those assignments according to its own menu and gameplay actions. Keeping the layers separate makes the first setup much easier to read. If the operating system never sees the pad, changing a Ryujinx profile cannot repair it. If Ryujinx sees the pad but the game ignores a button, the problem is usually the selected profile, controller type, saved mapping, or a per-game override.
Start with a stable connection. A wired test removes Bluetooth and battery variables, so it is usually the fastest first pass. If you use Bluetooth, pair the controller before starting Ryujinx and close other remappers that may reserve it. You do not need keys, firmware, ROMs, or DLC to test controller visibility; those are separate setup concerns.
In the Ryujinx input settings, begin with Player 1 and the device name that matched your outside-emulator test. Choose the closest controller type, then map the buttons the target game actually needs: directional input, face buttons, both sticks, triggers, shoulders, plus, minus, and capture when relevant. Map the core controls first and save a baseline before adding motion, rumble, or alternate layouts. If a profile contains old bindings from another pad, create a clean profile or clear the conflicting fields instead of changing ten settings at once. The goal is not to create a perfect profile for every game; it is to prove that one stable device can drive one title.
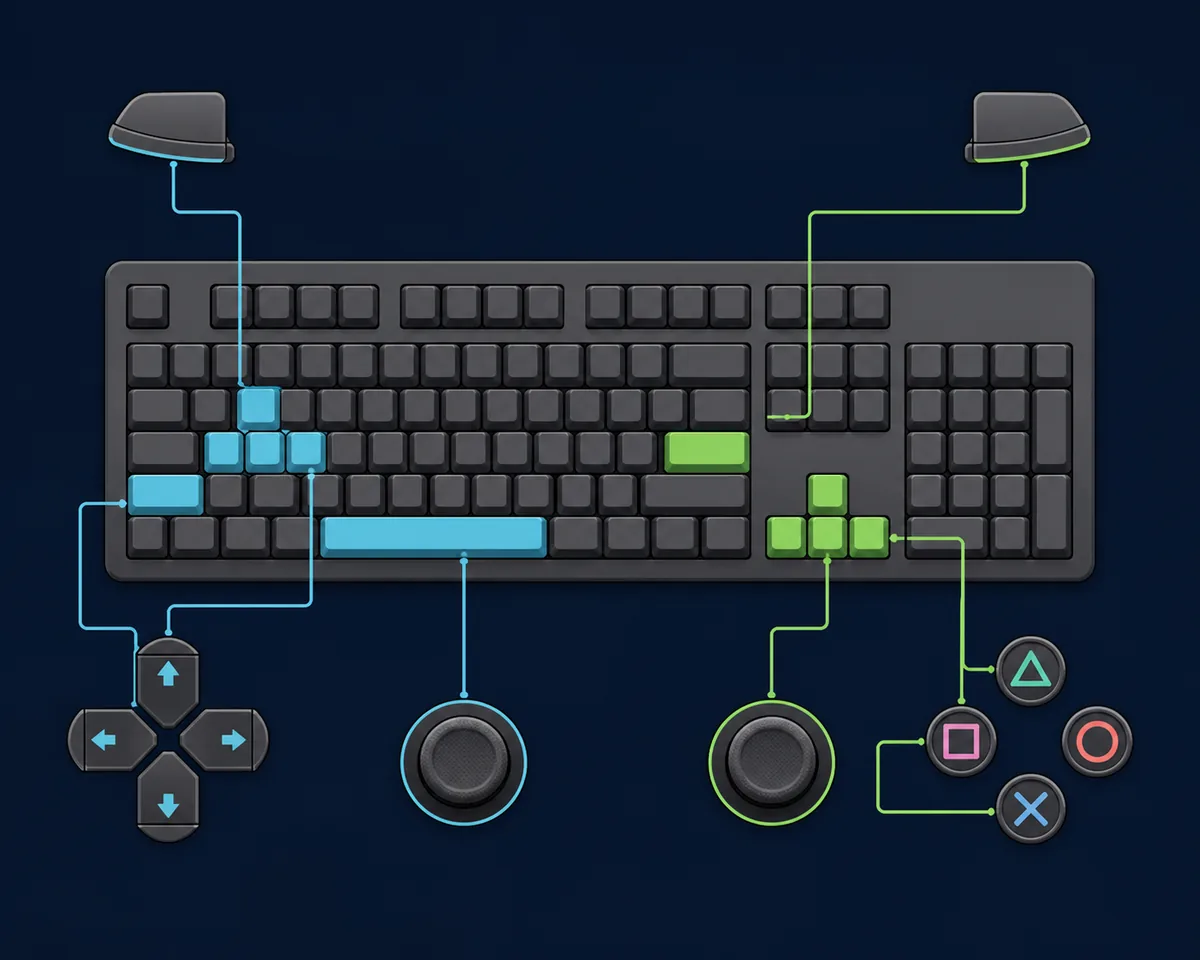
Windows controllers may be exposed through XInput, DirectInput, Bluetooth, or a remapper. Xbox-style pads are often straightforward, while PlayStation, Switch Pro, and third-party pads can appear under more than one name. Steam Input adds another layer: Steam may present a virtual Xbox-style device while hiding or transforming the physical pad. For a clean Ryujinx controller setup, decide whether the game will launch directly or through Steam, then select the device exposed by that same path. If a controller works when Ryujinx is opened directly but fails through Steam, compare the device name and profile rather than reinstalling the emulator.
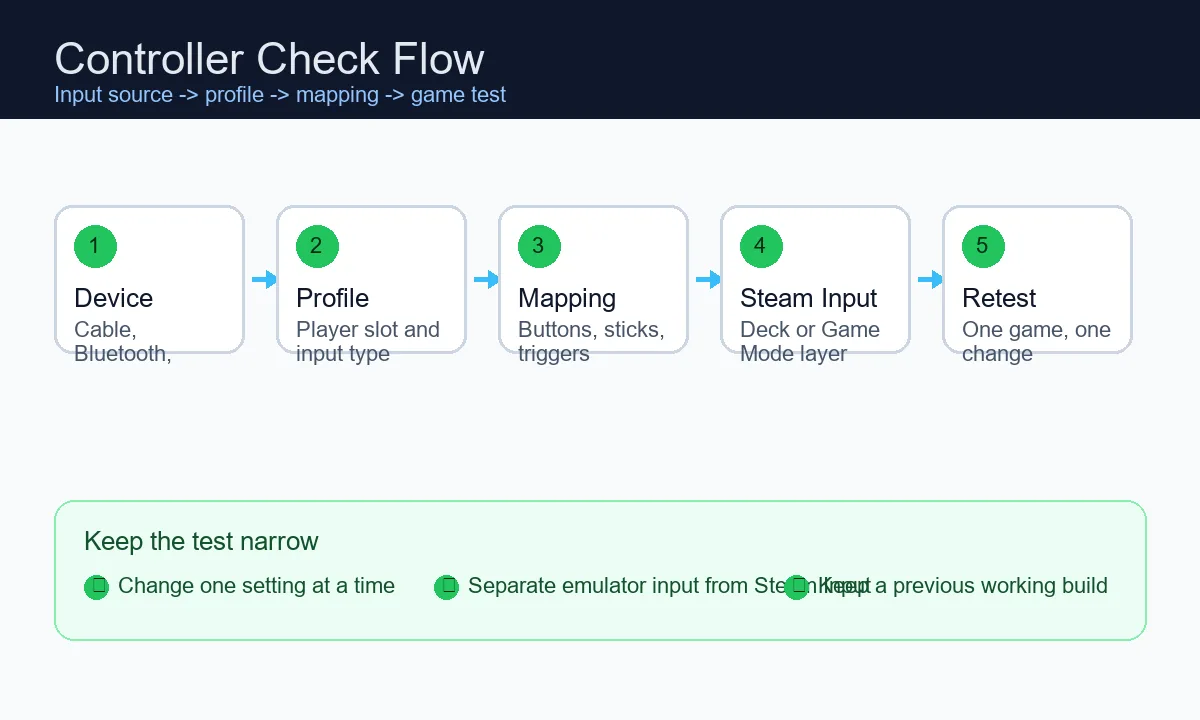
The Player 1 workflow is shared across platforms, but the launch path changes what device Ryujinx can see. On Linux, reproduce the test in the same desktop session and permissions context used by the final shortcut. Steam Deck has Desktop Mode, Game Mode, and Steam Input; a controller that works in one mode may be presented differently in another. Test the AppImage or archive build directly in Desktop Mode before adding a Steam shortcut, then repeat the same profile through Game Mode. On macOS, keep Ryujinx focused while mapping and check any input or accessibility prompt from the operating system. Record the platform, launch path, controller mode, and device name for a useful comparison.
Use this page for a first-time or clean setup. If Ryujinx lists the device but no buttons respond, check the selected device, Player 1 slot, controller type, saved profile, Steam Input, and per-game overrides. If the device is absent, verify the operating system and launch layer first. If controls broke after a Canary update, compare the same profile on the previous build. The dedicated controller-not-working guide covers those failure paths. Keep graphics, keys, firmware, game directories, and ROM files as separate tests.
A controller profile does not require downloading keys, firmware, ROMs, DLC, or mystery driver packages. If a game boots and the buttons are wrong, stay inside the input workflow. If the emulator cannot boot the title, use the installation or compatibility guidance instead. Back up a working profile before testing a new build, and do not delete the whole user folder to repair one button. This site does not host copyrighted game files, keys, firmware, or DLC.
Menu names and input behavior can change between emulator forks and Canary revisions. Use these first-party references for current setup context.
Test the gamepad in the operating system, open Ryujinx input settings, select Player 1 and the matching device, choose the closest controller type, map the core buttons and sticks, save, reopen the profile, and test one local game.
Use one known-good controller and one device path. Leave Player 2, motion controls, extra wrappers, and per-game overrides alone until the default Player 1 profile survives a save and a game test.
A physical pad and a virtual device from Steam Input or another remapper may both be visible. Choose the device exposed by the launch path you will actually use, and avoid mapping through two wrappers at once.
Test the controller in Desktop Mode first, then repeat the profile through the final Game Mode launch path. When Steam Input is active, select the virtual gamepad name that Ryujinx lists rather than assuming the physical name will remain visible.
Check the selected controller type, axis order, full stick range, and dead zone. Rebuild the profile from a clean device selection before changing sensitivity, and test one stick at a time.
Start with the default profile. Add a named per-game profile only when a title clearly needs a different layout or special input, and confirm which profile is active before changing it.
No. Keys and firmware affect game boot and system content, while controller setup concerns input devices and profiles. Keep those troubleshooting paths separate and use only your own legally obtained files.