Open input settings and select Player 1
Start with the first player profile and make sure the keyboard device is selected. Do not configure several players while the baseline is untested.
Keyboard mapping and input guide
Ryujinx keyboard controls are configured per input profile, not through one universal key list. Open the input settings, configure Player 1, map the controls your game actually needs, save the profile, and test one title before adding more variables. This guide also explains mouse limits and what to check when keyboard input stops registering.
$ channel: canary
$ platforms: windows linux macos
$ source: ryubing releases
$ status: verify before download
Independent guide. No keys, firmware, ROMs, DLC or game files are hosted here.
Start with the first player profile and make sure the keyboard device is selected. Do not configure several players while the baseline is untested.
Assign face buttons, directional input, sticks and triggers before optional capture, minus, plus or motion actions.
A mapping is not proven until it survives a settings-window close and appears again when you reopen the profile.
Use a legal local game and a short menu or gameplay test. Change one key or one option at a time so the result stays readable.
If the device is missing from the operating system or a controller is the real problem, use the matching platform or controller guide instead.
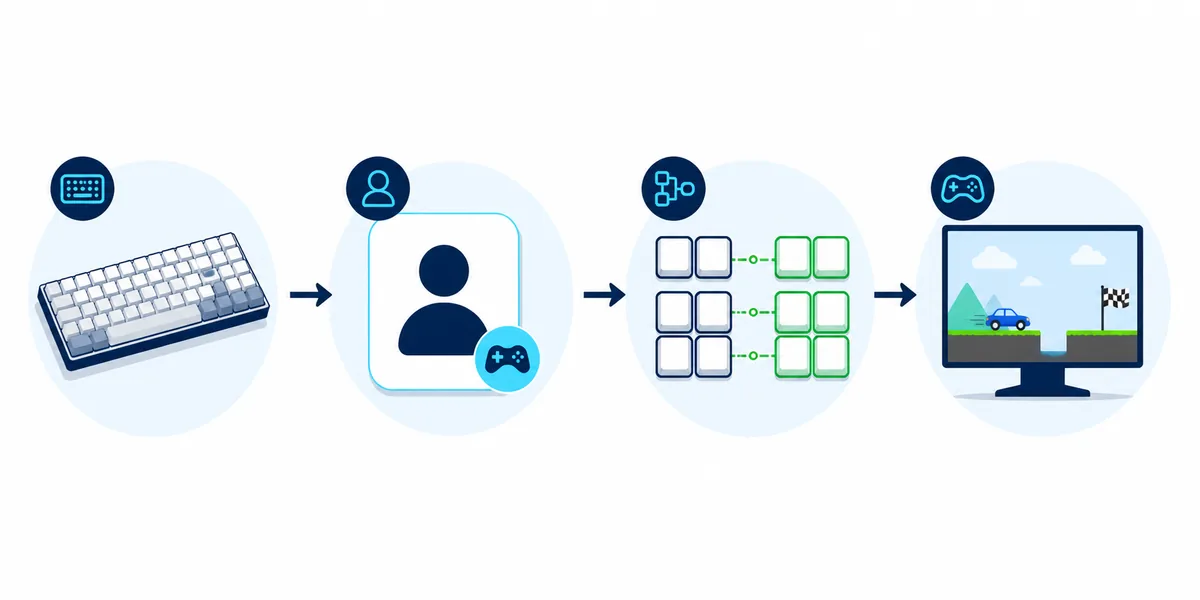
Editorial illustration, not a live emulator screenshot. The useful mental model is a short chain: physical key, selected input device, Player 1 mapping, then the game action.
The exact labels can differ between Ryujinx forks and Canary revisions, but the workflow stays stable. Open the emulator's input or controller configuration, select Player 1, choose the keyboard device exposed by your operating system, and map a small baseline before touching advanced profiles. If the page shows several controller types, choose the one that matches the game's expected layout rather than assuming a keyboard should use a special default. Save the profile, close the dialog and reopen it before launching a longer test. This catches a mapping that looked active but was never persisted. A clean baseline is easier to repair than a profile changed by several people, launchers or per-game overrides.
A keyboard can expose more individual keys than a game needs, but a complete-looking list is not the same as a usable layout. Begin with the controls that let you move, confirm, cancel and interact. Then add system-style actions and optional inputs only after the game responds. Do not promise a universal Enter key or a single default layout: games, profiles and builds may expose different labels, and a user may have already assigned that key to another action. The table below is a testing order, not a fixed keybind sheet. It keeps the common search intent around Ryujinx controls keyboard and emulator keybinds focused on mapping decisions rather than invented defaults.
| Control group | Why map it early | How to test |
|---|---|---|
| Face buttons | Confirm, cancel and interact in most menus | Open a menu, confirm one choice and cancel it |
| D-pad or directional keys | Navigate lists and precise menu focus | Move through a settings list without using the mouse |
| Left and right stick axes | Movement and camera actions need separate directions | Use a repeatable in-game movement or camera test |
| Triggers and shoulders | Many games use them for aim, select or secondary actions | Hold each input and watch for one response |
| Plus, minus, capture or home-style actions | Useful but often less important to first launch | Add them after the core profile is saved |
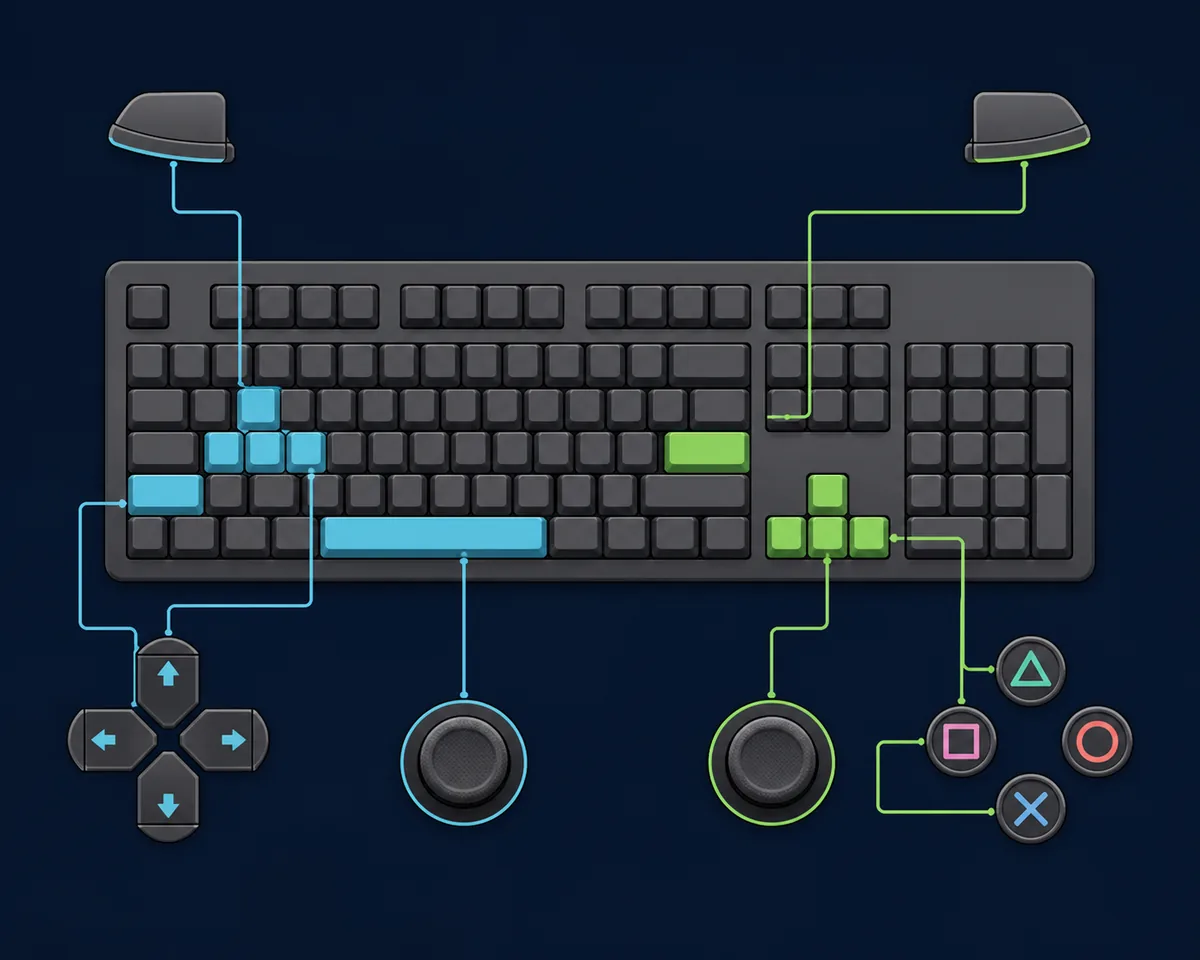
Keyboard controls are useful for users who have no gamepad, prefer discrete digital keys or need a quick desktop test. They are less natural for analog movement, pressure-sensitive triggers, motion actions and games designed around a controller. If a title responds correctly to a controller but feels awkward on keys, that is a layout trade-off rather than proof that Ryujinx input is broken. Start with a keyboard profile when the search intent is mapping keys; switch to the controller troubleshooting page when the device is a gamepad that Ryujinx cannot detect. Keeping those intents separate prevents random changes to the wrong input layer.
| Use case | Keyboard is a reasonable first test | Controller is usually better |
|---|---|---|
| Menus and turn-based actions | Discrete keys can be clear and easy to repeat | Helpful but not essential |
| Analog movement or camera control | Possible with mapped axes, but less natural | Stick range and sensitivity are more direct |
| Racing or pressure-sensitive actions | Works only if the title and profile tolerate digital input | Triggers and sticks usually fit the design |
| Input troubleshooting | Good for isolating whether the emulator accepts keyboard events | Good for testing a separate controller path |
When Ryujinx keyboard input stops working, first identify whether the failure is global, profile-specific or limited to one game. Test a text field or another application to confirm the physical keyboard and operating system still receive the key. In Ryujinx, inspect Player 1, the selected device, the active profile and the saved mapping. If menus respond but a game action does not, the game may use a different action, the key may be duplicated or the profile may be overridden. If no keys work anywhere after an update, compare a clean profile with the previous working Canary build before deleting user data. This layered check is more useful than reinstalling immediately.
Searches for how to use a mouse in Ryujinx often mix two different needs: using a mouse to operate the desktop emulator window and emulating a game's expected pointer, touch or motion input. A mouse click is not automatically a console button, and a right-click is not a universal Ryujinx control. Configure only the mouse actions that your installed build and the game's input profile expose, then test them in the target title. For a game built around analog sticks, touch, gyro or a controller, a keyboard-and-mouse setup may be a partial workaround rather than a complete replacement. State that limitation clearly and avoid copying a random keybind list from a different build.
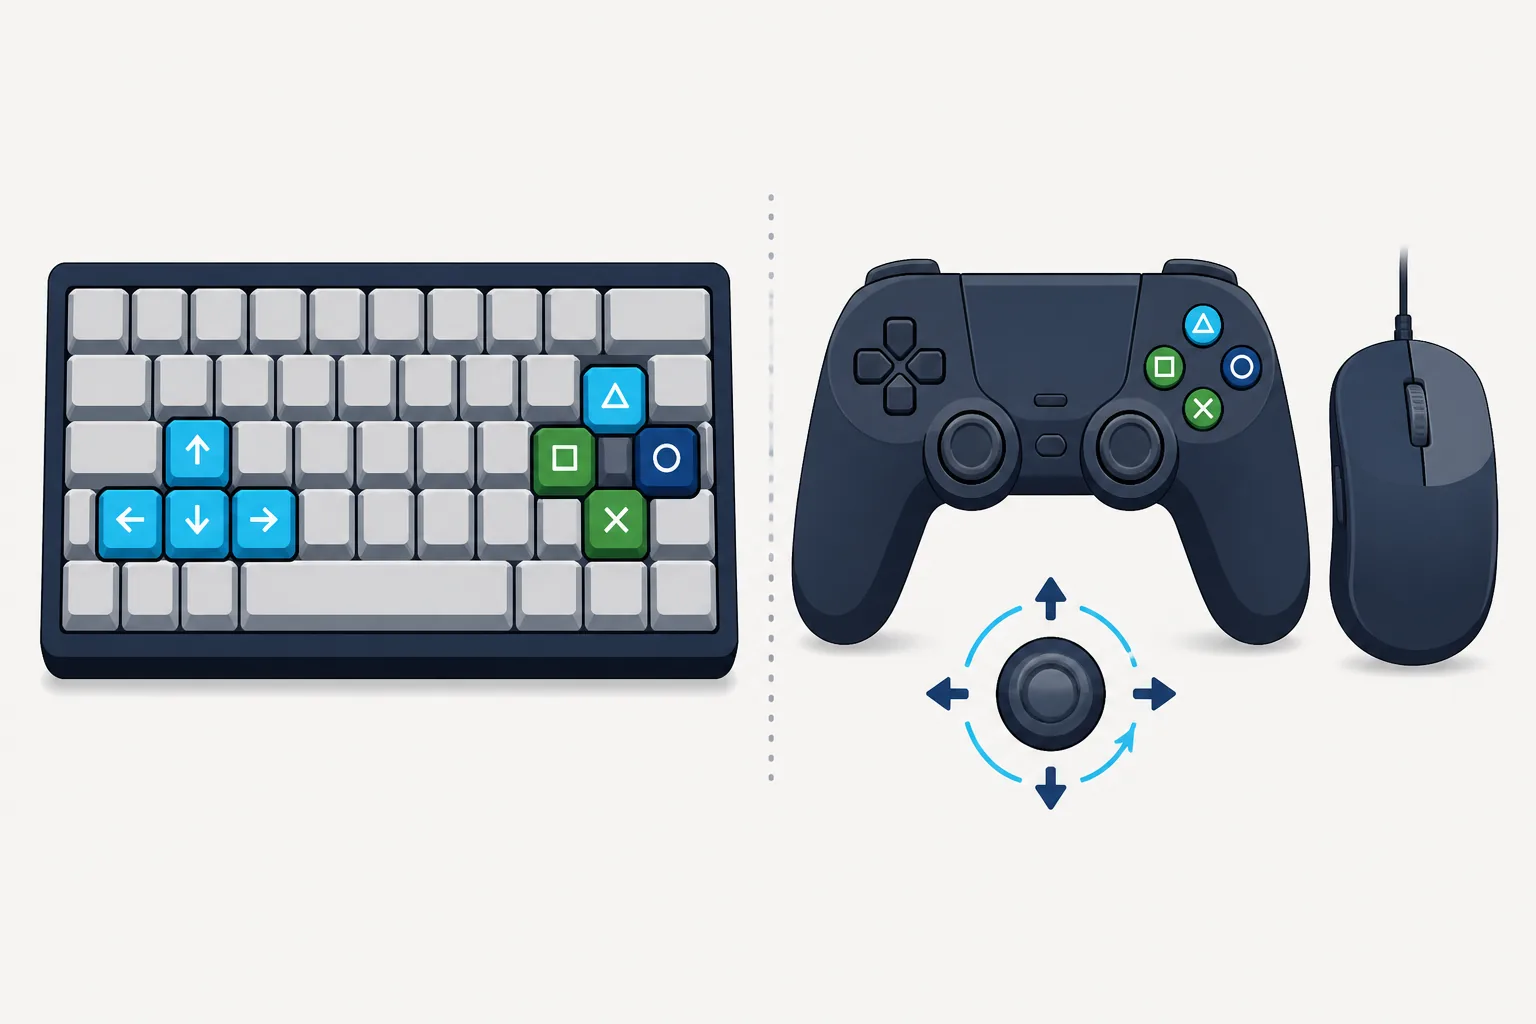
The mapping concept is the same across platforms, but the input path can change. On Windows, check the active keyboard layout, desktop focus and overlays. On Linux, confirm that the desktop session and permissions allow the emulator window to receive key events. On macOS, check the focused application and any privacy or accessibility prompts that affect input capture. Steam Deck adds Desktop Mode, Game Mode and Steam Input as separate variables; test the same launch path that you intend to use for the game. Do not compare a keyboard profile created in Desktop Mode with a Game Mode launch and assume the emulator sees an identical event stream.
Canary builds move quickly, so a profile that worked yesterday may need a controlled comparison after an update. First save a copy of the working profile or user data that contains it. Then record the build, operating system, keyboard layout and launch path. Test the same key in the same menu or game scene on the new build and, if available, the previous working build kept in a separate folder. If the old build works and the new one does not, that is evidence of a version-specific behavior change; it is not a reason to download an unverified replacement or delete every setup file. Use the update guide for a broader rollback plan.
| Result | Likely next step |
|---|---|
| New and previous builds both fail | Recheck keyboard focus, OS events, profile selection and the game-specific action |
| Only the new build fails | Preserve evidence and compare the build or report a reproducible regression |
| Only one launch shortcut fails | Inspect launcher, Steam Input, overlay or working-directory differences |
| Menus work but one game action fails | Check the title's input expectation and any per-game profile override |
Keyboard controls are an input-profile problem, not a reason to search for keys, firmware, ROMs, DLC or game downloads. If the emulator opens and a legal local game runs but a key does not respond, stay inside the input workflow. If the game does not boot, route that symptom to installation, keys and firmware or compatibility guidance instead. This site does not host copyrighted game files or setup files, and it does not claim that a keyboard can replace every controller, touch or motion input. Keeping the boundary clear protects saves and makes troubleshooting evidence easier to understand.
Use these official references for setup context; menu names can change between builds.
There is no single safe default list for every build, profile or game. Open Player 1 input settings and inspect or assign the bindings saved in your profile, then test the controls in a short scene.
Do not assume Enter has one universal meaning. Map the action exposed by your profile, check whether the game expects confirm or another button, save the profile and test it in the actual menu.
Open the input or controller configuration, select Player 1 and the keyboard device, assign the required buttons and axes, save the profile, close and reopen the settings, then test one game.
Keyboard mapping is useful for discrete actions, while mouse behavior depends on the input profile and game. Mouse input is not a universal replacement for analog, touch or motion controls.
Check the physical key and operating-system focus, then Player 1, the selected profile, saved mappings, overlays and per-game overrides. If the problem began after an update, compare the previous working build.
Keyboard is a practical baseline for menus, digital actions and troubleshooting. A controller is usually more natural for analog movement, pressure-sensitive triggers, touch or motion input.